More reach. More reservations. Zero double bookings.


How to List Your Property on Booking.com
Last updated
June 22, 2026


Developed in collaboration with Booking.com
Last Updated: January 2026
Once you've made the decision to list your property on Booking.com, the next step is to register it so that it can be featured on the platform. This process is straightforward and can be completed quickly. However, it's important to take your time during this stage to ensure that your property is listed accurately.
Don't see the form to download our rental agreement template? Click here.
How to list a property on Booking.com
Listing your property on Booking.com is the first step to reaching millions of potential guests from around the world. By following a few simple steps, you can create a compelling listing that showcases your property’s best features and helps drive bookings.
Step 1: Creating an account
To get started, you’ll need to create an account on the Booking.com Extranet. Here’s how:
- Visit https://join.booking.com/.
- Click Get started now and follow the prompts to create a new account.
Step 2: Entering property details
Once your account is set up, the next stage involves adding information about your property. Be as detailed as possible:
- Property type: Choose hotel, apartment, or vacation home.
- Location: Accurately enter the address of your property to ensure it appears correctly on the map.
- Room types and capacity: Specify the types of rooms and their maximum capacity for guests.
- Amenities and facilities: Highlight special features such as free Wi-Fi, parking, or a swimming pool.
- Photos: Upload high-quality images that showcase the property’s unique features.

Step 3: Setting rates and availability
Make your property available for bookings by configuring pricing and calendar settings:
- Set your room rates: Determine competitive pricing based on your property type and market trends.
- Manage your availability: Update your calendar to reflect open dates and avoid overbookings.
- Select your cancellation policy: Decide how flexible you wish to be with cancellations for guests.
Step 4: Reviewing and publishing your listing
Before going live, review your listing to ensure all details are accurate:
- Double-check all property information, photos, and pricing.
- Preview how your property will appear to guests on the platform.
- Once everything looks perfect, submit your listing for review.
Please note that specific requirements will depend on your property's location and whether a license is required for it. Some countries require tourism licenses, so it's important to choose a property type for which you have the necessary license.
A note on property types
It’s extremely important to ensure you select the most accurate property type for your listing. The options include:
- Apartment: These are single, self-catered units that are rented in their entirety.
- House: Similar to the apartment category, these independent homes are distinguished by being detached and often come with private perks outside, such as an exclusive yard or beachfront.
- Hotels, B&Bs, and more: This category is for those who want to rent out multiple rooms within the same building or unit. If, for example, your three bed-and-breakfast rooms are part of your own private dwelling, you should pick this option.
- Alternative places: Staying on trend with the current popularity of “experience travel,” Booking.com’s final category caters to those spaces that are more unique—for instance, anything from a yurt to a yacht.
These options might seem straightforward, but it is to your advantage to consider under which one your property falls, as it will influence the searches in which your listing pops up on the website.

How to register multiple properties on Booking.com
Booking.com makes it simple to register multiple properties, whether they are at the same address or different locations. If you have two properties of the same type located at the same address, start by selecting a property type such as Home, Hotel, or Alternative places. From there, you can choose whether to list your entire place or individual rooms, and even add multiple units under the same listing if needed.
For properties at different addresses, the process is just as straightforward. Begin by registering your first property. Once the registration is complete, you can add more properties through the Extranet’s Add New Property tab. This allows you to manage all your listings conveniently in one place, no matter their location.
Tips for maximizing your Booking.com listing
Knowing the details of each platform you use is essential to boosting your bookings. Here are some simple tips to help you succeed when promoting your property on Booking.com:
Respond to inquiries promptly
Since Booking.com operates as an instant booking platform, it’s important to respond to prospective guests as quickly as possible. Stay alert for new messages and consider using autoresponders to save time and effort. By preparing ready-made answers for commonly asked questions, you can provide quick and efficient responses with just a few clicks.
Provide clear, detailed information
Autoresponders can help, but reducing the need for questions altogether is even better. Make your listing as detailed and clear as possible. Put yourself in your guests' shoes. What would you want to know before booking? Include all necessary details about your property and its offerings so guests feel confident and well-informed.

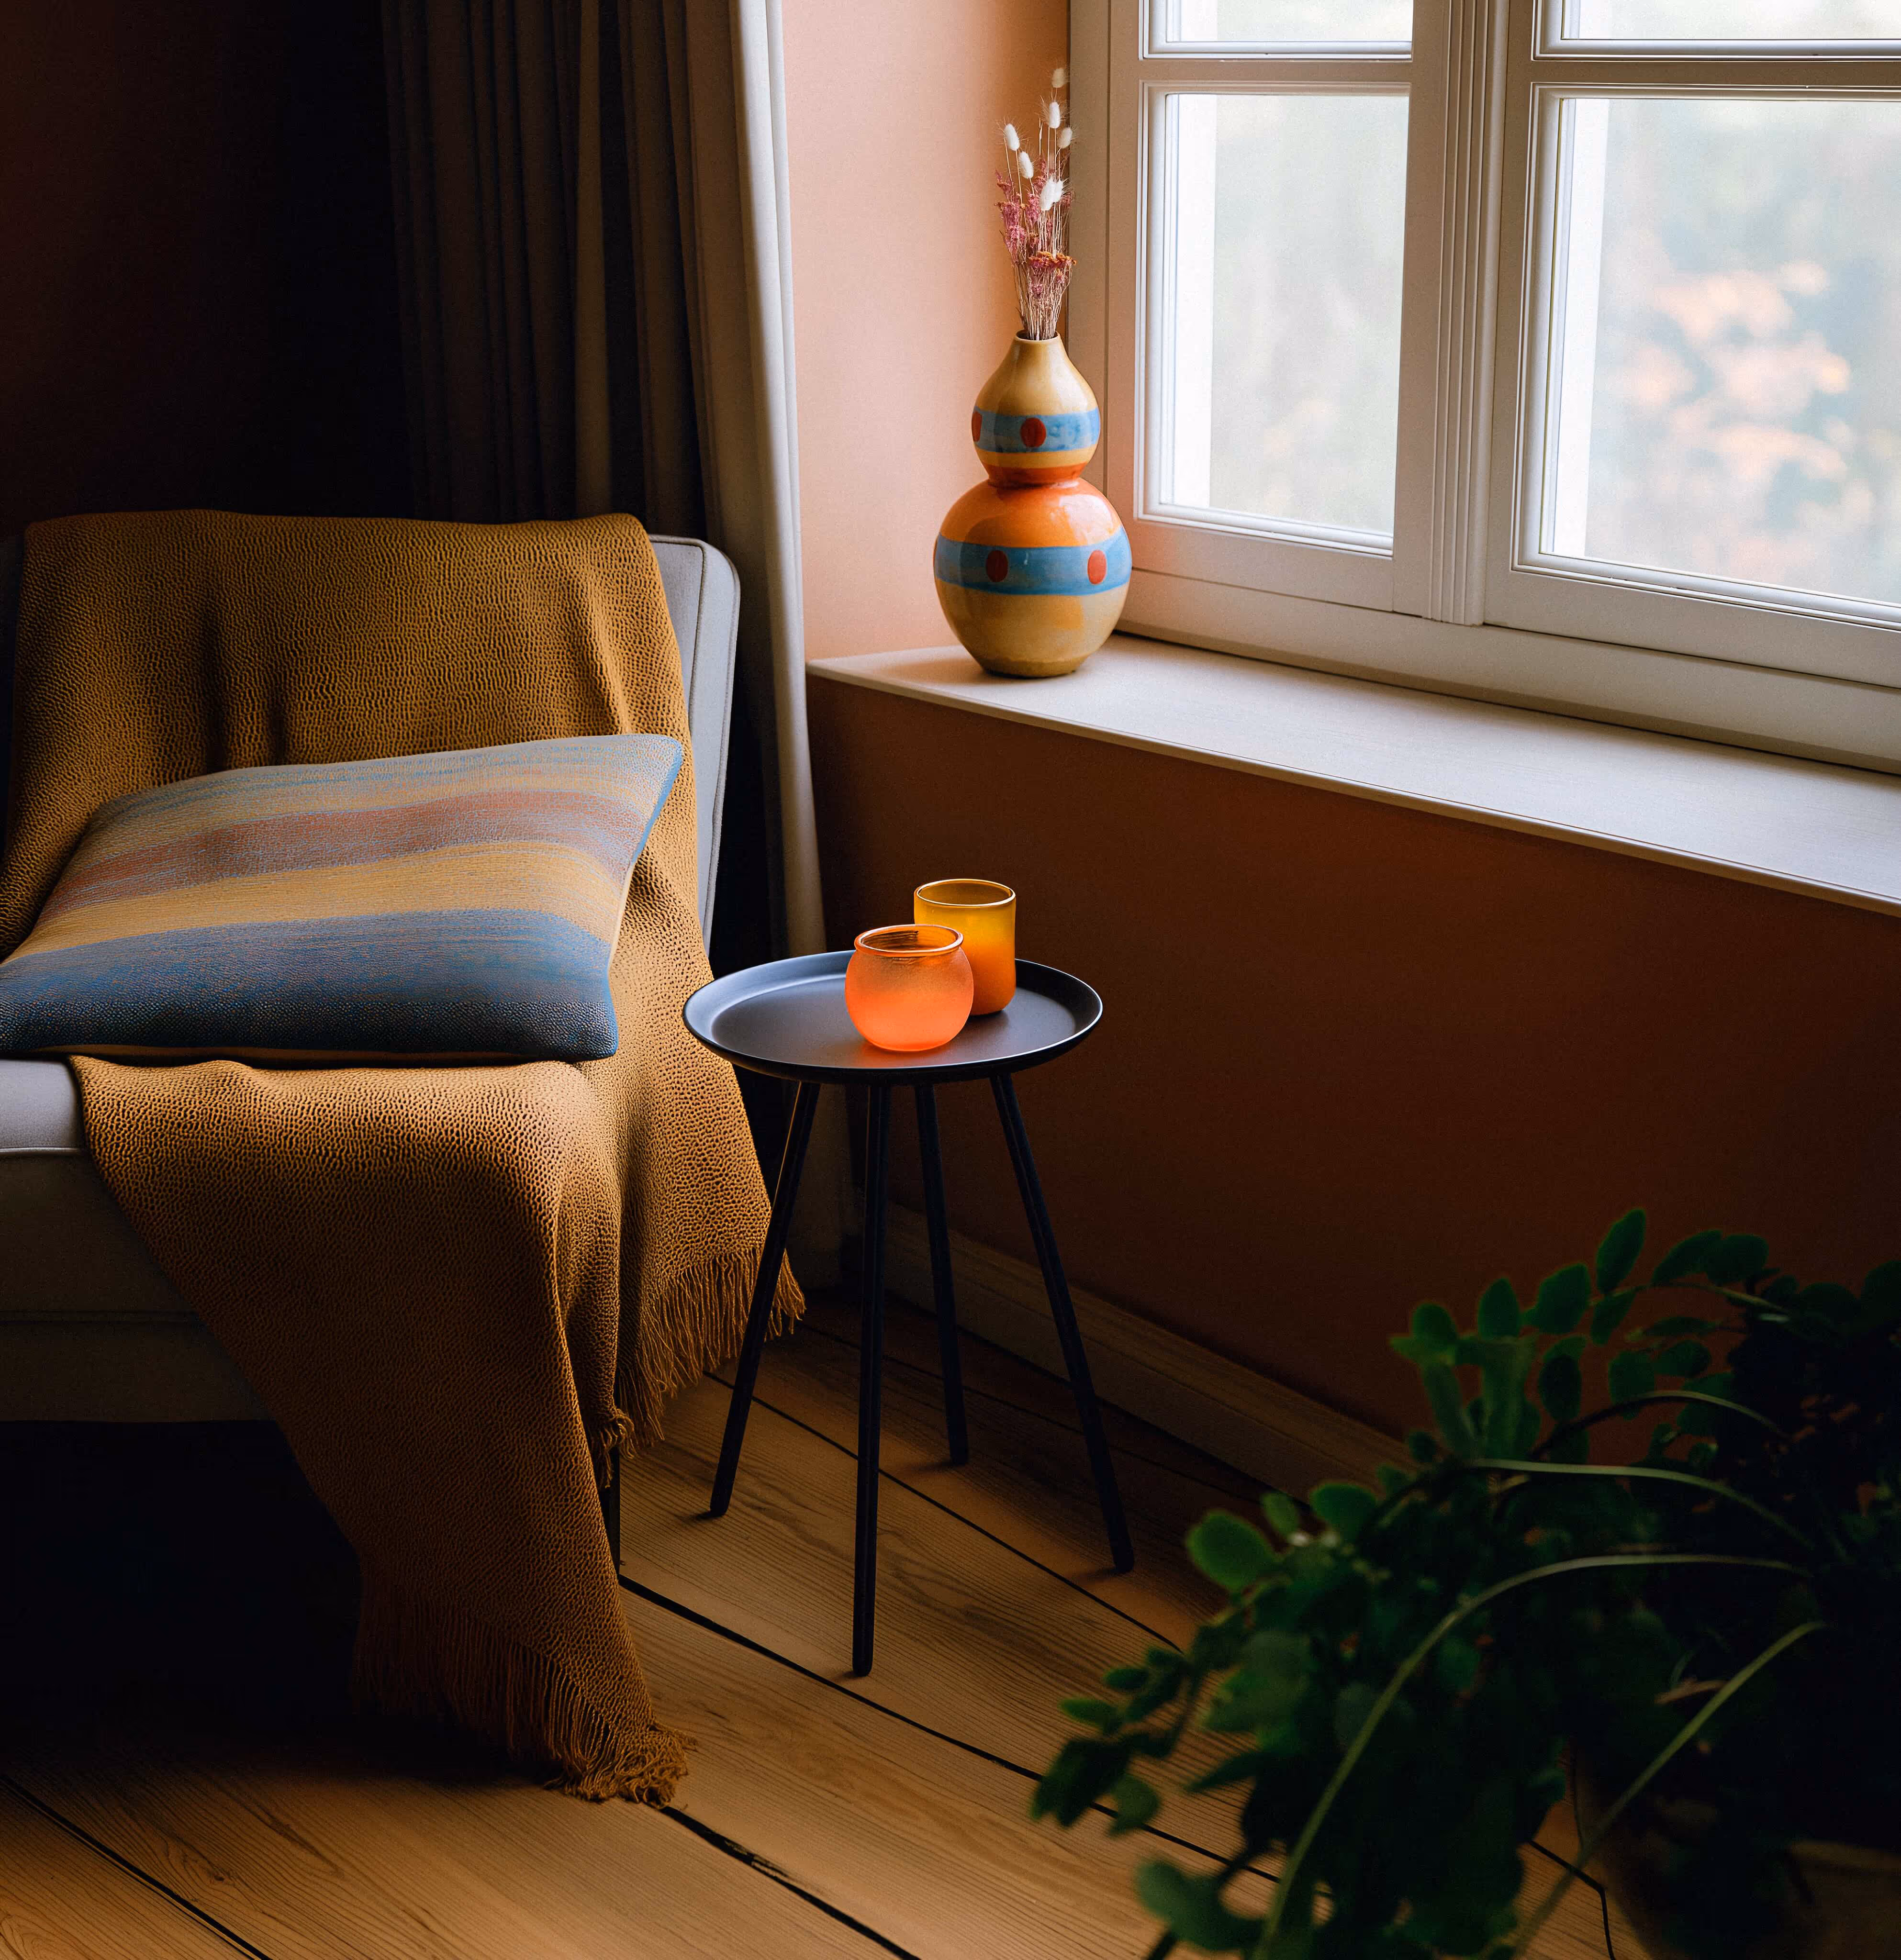
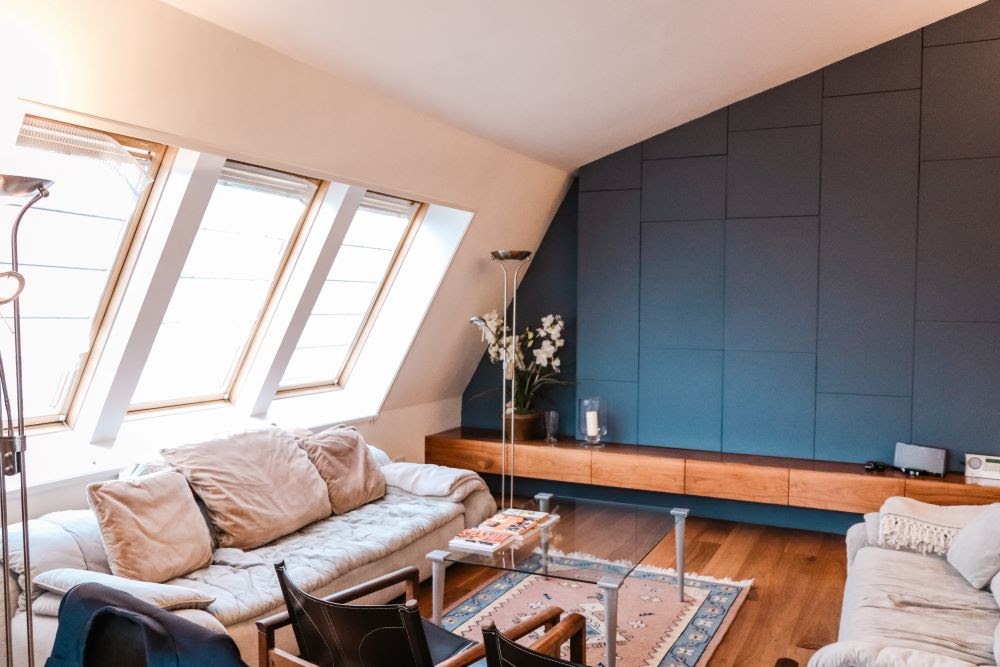
Highlight your property with high-quality photos
Travelers often envision their stay before booking, so include high-quality photos of every part of your property. Show off the bedrooms, living areas, kitchen, outdoor spaces, and any unique features. Photos can clarify details such as bed types, kitchen appliances, or other amenities, ensuring guests know exactly what to expect.
Showcase all your amenities
When listing your property’s amenities, include everything–even the basics. Review similar properties in your area to see what they offer, and consider if you have any standout features. Highlighting unique amenities can help your property attract more attention and stand out from competitors.
Want to learn more about listing on Booking.com? Enroll in our free Academy course!
How to integrate Booking.com with Lodgify
Setting up a connection between your listing and Lodgify’s Booking.com channel manager is a straightforward process. Follow these steps to ensure seamless synchronization:
- Activation: Begin by logging into your Booking.com extranet. Navigate to either Property Info or Account and click on Channel Manager. From the drop-down menu, select Lodgify as your channel manager to enable synchronization.
- Mapping: Match your rentals on Booking.com with those in your Lodgify account. During this step, specify which rates you would like to synchronize. To complete this process, our connectivity team will provide you with a form to input the required information.
- Rates: If you have set up Derived Rates in Lodgify, you can connect multiple rates to your Booking.com listings. This makes it easy to manage pricing across platforms efficiently.
- Markup: If you wish to sell your vacation rental at a higher price on Booking.com than on your Lodgify website, you can apply a markup when transferring your rates to adjust pricing accordingly.
For more detailed guidance, check out our Lodgify Help Center. Our connectivity team is also available to assist you every step of the way, ensuring a smooth integration and synchronization process.
Don't see the form to download our rental agreement template? Click here.