More reach. More reservations. Zero double bookings.


How to Create a Vrbo Listing: Step-by-Step Guide
Last updated
June 22, 2026


Once you have your Vrbo owner account, you're ready to create your first property listing. A well-crafted listing is your most powerful tool for attracting guests and securing bookings. It’s your chance to showcase your property and stand out from the competition.
This guide will walk you through the entire process, from understanding Vrbo's requirements to hitting the "publish" button. We’ll break down each step so you can build a compelling listing with confidence.
Disclaimer: Lodgify is not Vrbo. Lodgify is vacation rental software designed to help hosts increase direct bookings and manage their business more efficiently. We create these guides to empower you with the knowledge to succeed on any platform.
Don't see the form to download our rental agreement template? Click here.
Disclaimer: Lodgify is not Vrbo. Lodgify is vacation rental software designed to help hosts increase direct bookings and manage their business more efficiently. We create these guides to empower you with the knowledge to succeed on any platform.
What are the requirements to list on Vrbo?
To list on Vrbo, your property must meet the platform’s standards for quality and reliability. The main requirement is that all information in your listing is accurate and transparently represents the property you are offering.
Vrbo expects all hosts to adhere to the following guidelines:
- Accuracy: Your listing, including photos and descriptions, must be an honest and accurate portrayal of your rental. Misleading guests with outdated or enhanced photos is not allowed.
- Location accuracy: You must provide the precise location of your property.
- Originality: You cannot copy and paste descriptions or photos from other listings.
- One listing per property: Each property can only have one listing on your account. Creating duplicate listings to increase visibility is against Vrbo’s rules.
- Compliance: All listings must comply with Vrbo’s Marketplace Standards and Content Guidelines.
What do I need before I create my Vrbo listing?
Before you start, gather your property details, high-quality photos, and banking information. Having this information on hand will make the setup process much quicker and easier.
Use this checklist to prepare:
- Property details: Your rental’s full address, property type (house, apartment, etc.), and a list of key amenities.
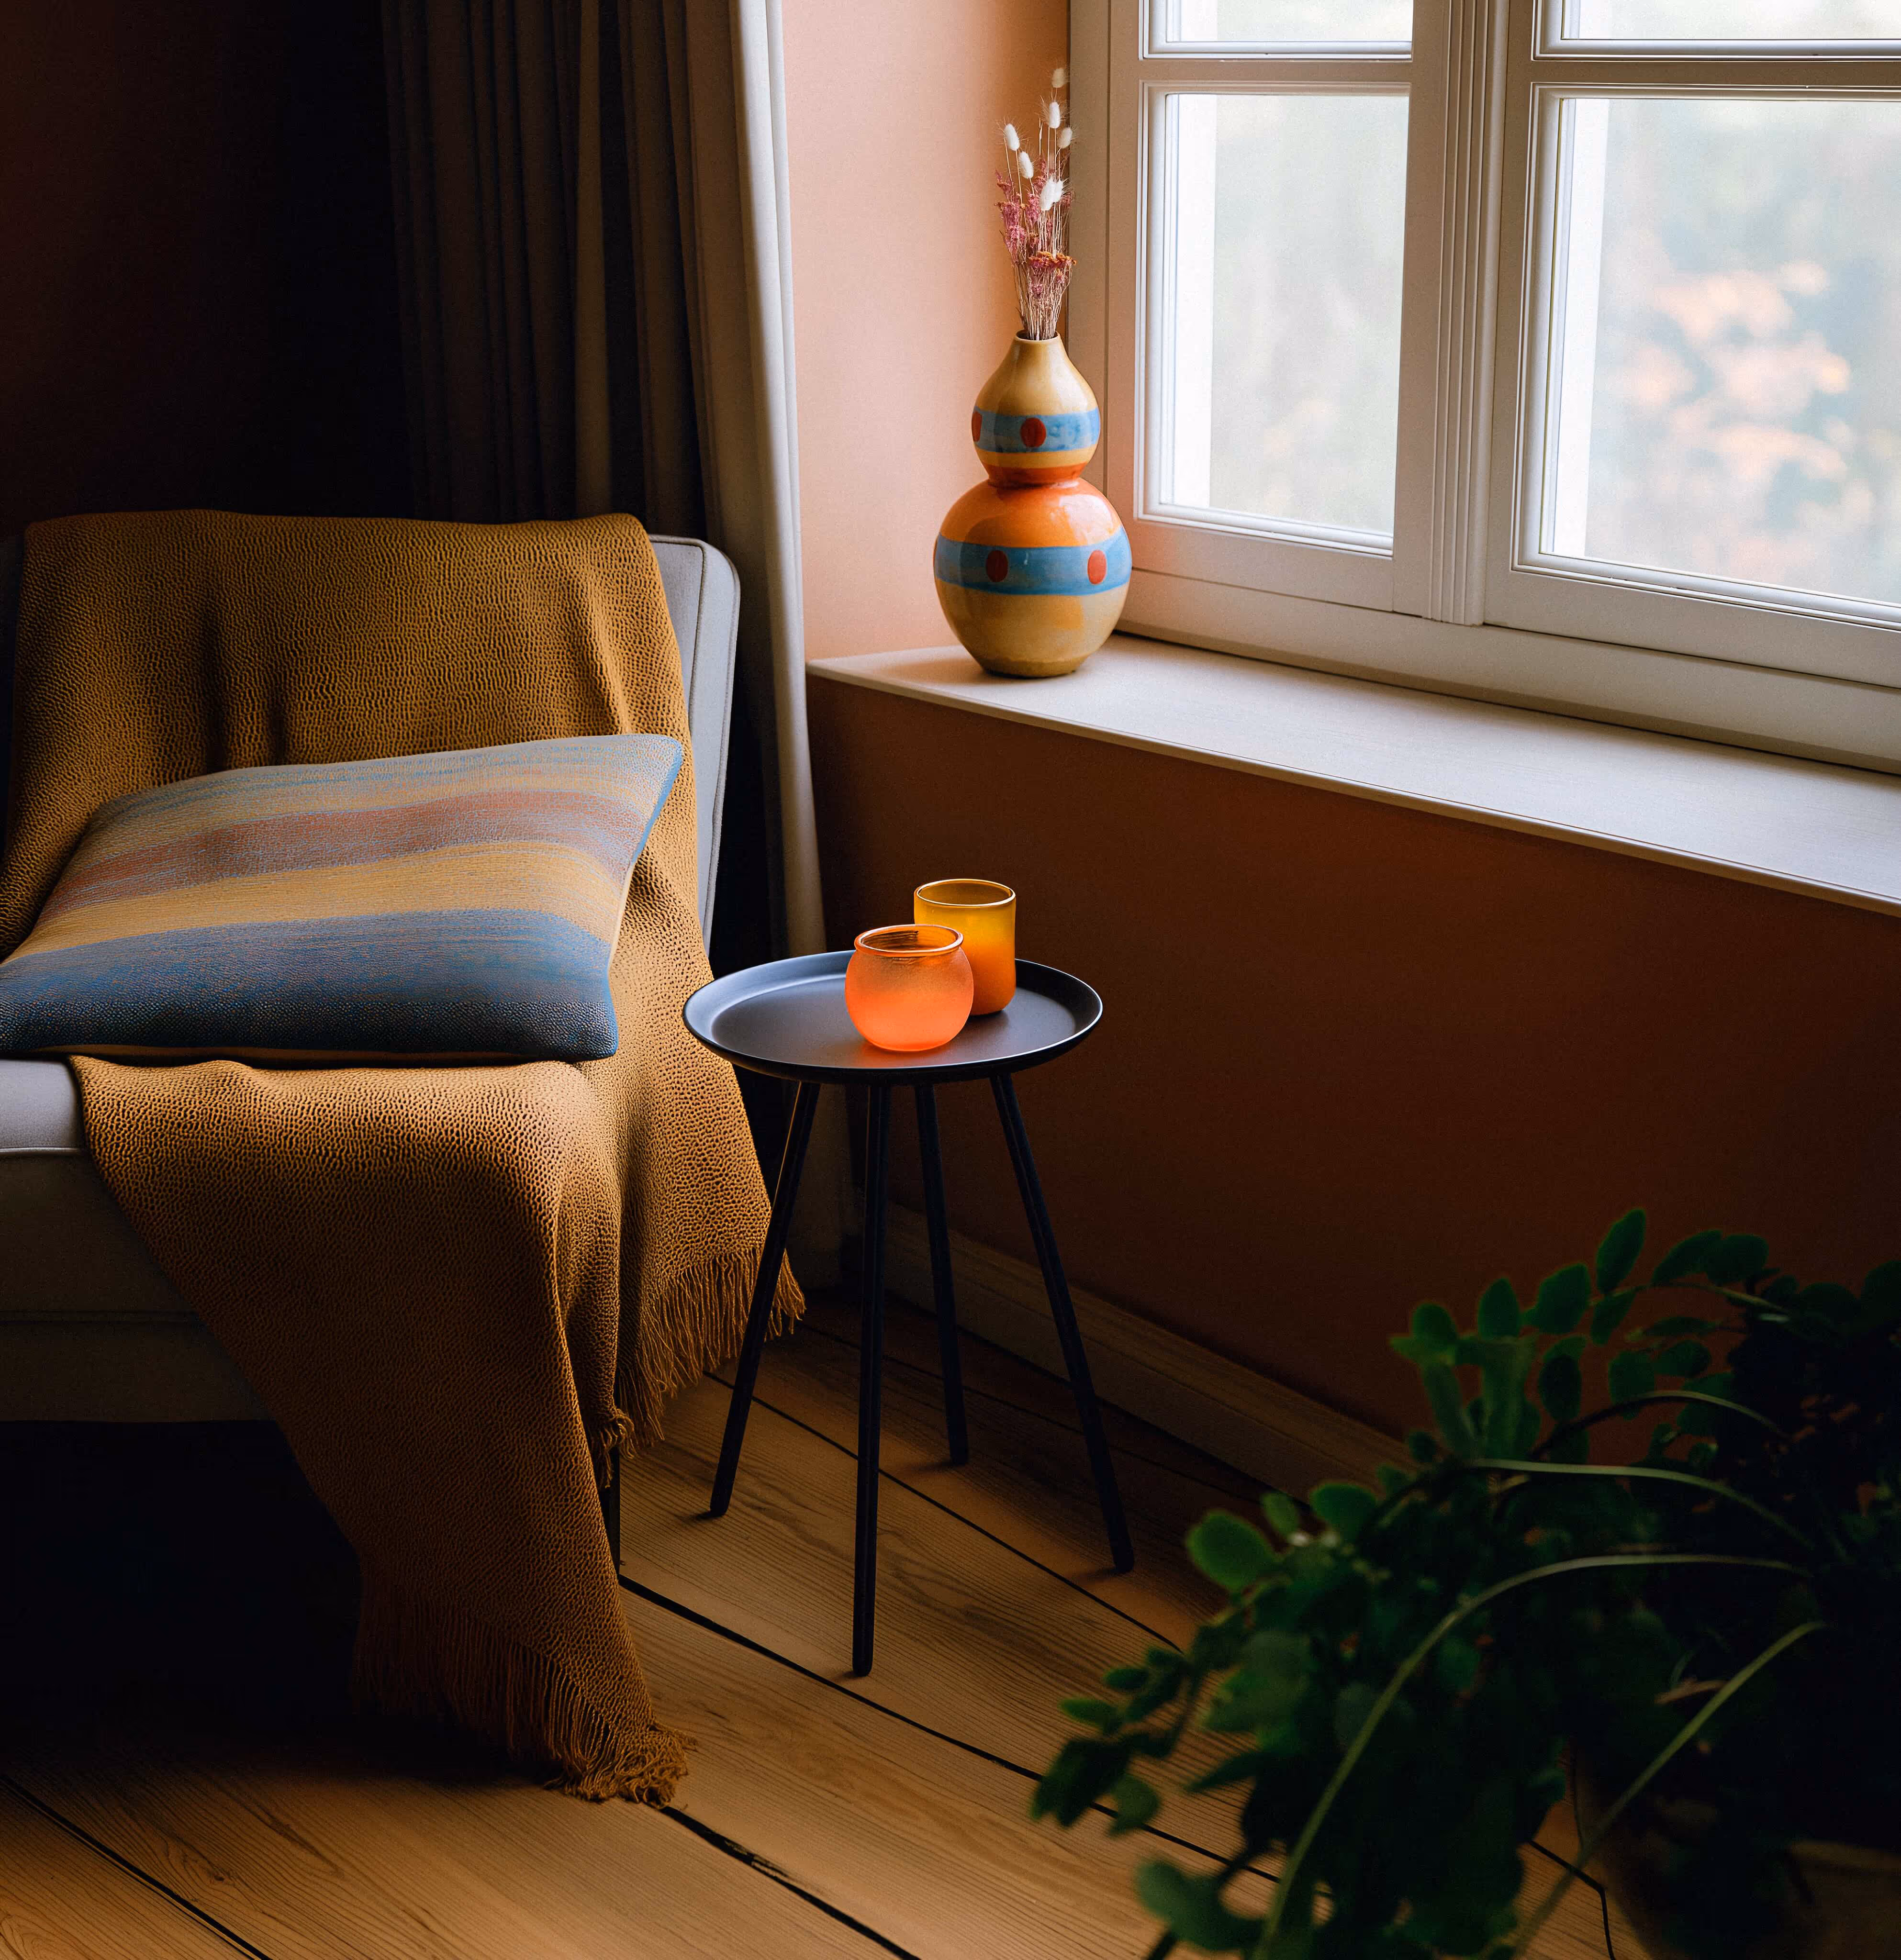
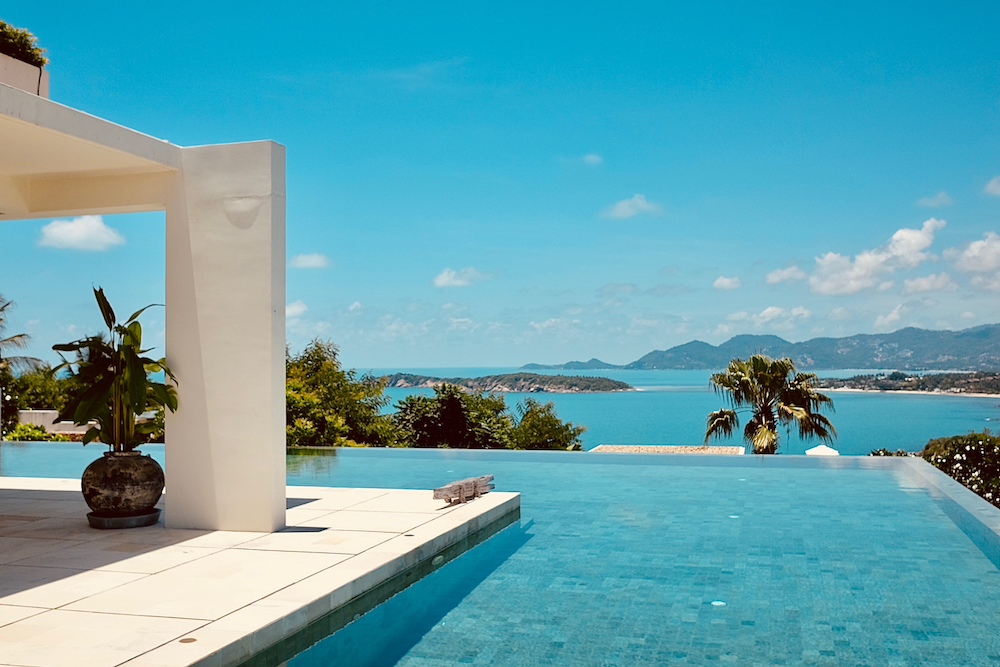
- High-quality photos: A minimum of 24 high-resolution photos is recommended to create an effective listing. Need tips? Check out our guide on how to take professional vacation rental photos.
- Banking information: Your bank account and routing numbers for receiving payouts.
- Pricing strategy: A clear idea of your nightly rate, cleaning fees, and any other additional charges.
How to create a Vrbo listing in 7 steps
You can create a Vrbo listing by logging into your account, selecting List your Property, and following the guided steps to add details, photos, pricing, and payment information.
Here’s a breakdown of the process:
- Start your listing: Log into your Vrbo account and navigate to the List your property page.
- Enter property details: Provide specifics about your property, including the number of bedrooms, bathrooms, and location. Vrbo will use this to generate a potential earnings estimate.
- Add photos and a description: Upload your high-quality photos. Write a compelling, descriptive headline and property summary that highlights what makes your rental unique.
- Confirm security information: Add details about the safety features at your property, such as smoke detectors, carbon monoxide detectors, and fire extinguishers.
- Set up payments: Enter your banking details to connect your account for payouts. This ensures you get paid quickly and securely after a guest completes their stay.
- Define your pricing and availability: Set your nightly rate, cleaning fees, taxes, and any other applicable charges. Then, use the calendar to mark any dates your property is unavailable.
- Go live: Review all the information you’ve entered. Once you’re satisfied, click Publish to make your listing visible to millions of travellers.
What happens after I publish my listing?
After you publish, Vrbo will review your submission to ensure it meets their guidelines. You'll receive an email notification once it's officially live. You can then make edits or updates at any time from your Vrbo owner dashboard.
Start creating and optimizing your Vrbo listings
Creating a listing is just the beginning. The next step is to optimize it to rank higher in search results, attract more travellers, and convert views into bookings.
Don't see the form to download our rental agreement template? Click here.